Sourdough Starter
A Little Note Before You Get Started
I’m not a sourdough expert, and I’m definitely not going to pretend to be one! There are some fantastic sourdough creators out there who know far more than I do about baking beautiful loaves, troubleshooting starters, and making all kinds of sourdough goodies.
What I’m providing here is a freeze-dried sourdough starter to help you skip the long beginning stage. Instead of starting from scratch and potentially waiting up to two weeks to develop an active starter, this starter was already active before it was freeze-dried. Once rehydrated and fed, it can become active and ready for baking much more quickly.
The instructions on this page (below the image below is a PDF link where you can print these instructions as well) will walk you through getting your freeze-dried starter active again. Once it’s up and running, that’s where I hand you over to the experts! Find a sourdough creator whose recipes and teaching style you like and follow their instructions for maintaining your starter and making bread, buns, pizza dough, discard recipes, or whatever else you want to try.
One creator I highly recommend is The Sourdough Hoe. She has tons of helpful sourdough content and recipes across Instagram, Facebook, TikTok and YouTube. I’ve included links to her accounts below so you can check her out.
Think of my freeze-dried starter as your head start. From there, the sourdough world is yours.
The SourdoughHoe Social Media Links
Facebook:The Sourdough Hoe on Facebook
Instagram:@the_sourdoughhoe on Instagram
TikTok:@the_sourdoughhoe on TikTok
YouTube:The Sourdough Hoe on YouTube
All links/resources:The Sourdough Hoe — Official Linktree
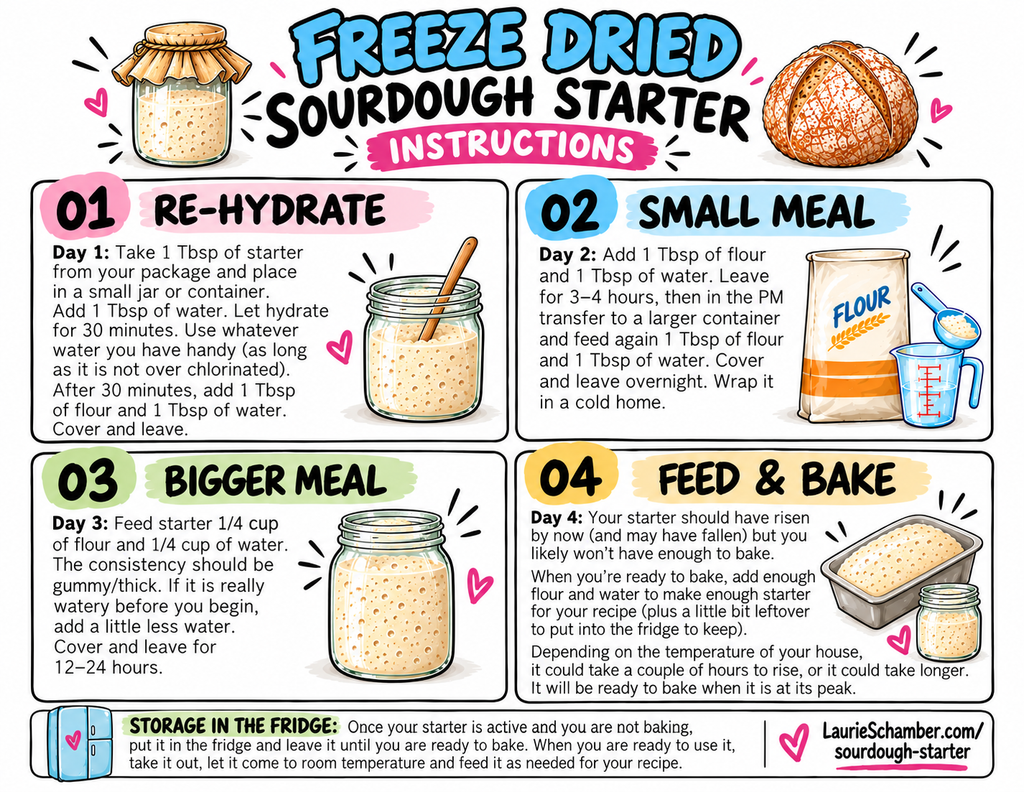
Tap or click on the image below to open printable PDF!
Freeze-Dried Sourdough Starter Instructions
Day 1: Rehydrate
Take 1 tablespoon of freeze-dried starter from your package and place it in a small jar or container.
Add 1 tablespoon of water and let it hydrate for 30 minutes. Use whatever water you have handy, provided it is not overly chlorinated.
After 30 minutes, add 1 tablespoon of flour and 1 tablespoon of water. Cover and leave.
Day 2: A Small Meal
Add 1 tablespoon of flour and 1 tablespoon of water. Leave for 3–4 hours.
In the evening, transfer the starter to a larger container and feed it again with 1 tablespoon of flour and 1 tablespoon of water.
Cover and leave overnight. If your home is cold, wrap the container to help keep it warm.
Day 3: A Bigger Meal
Feed your starter ¼ cup of flour and ¼ cup of water.
The consistency should be thick and gummy. If the starter is already very watery before you begin, add a little less water.
Cover and leave for 12–24 hours.
Day 4: Feed and Bake
Your starter should have risen by now—and may already have fallen—but you likely will not have enough to bake with yet.
When you are ready to bake, add enough flour and water to build the amount of starter required for your recipe, plus a little extra to keep in the fridge.
Depending on the temperature of your home, the starter may take a couple of hours to rise, or it may take longer.
It will be ready to bake with when it is at its peak.
Storing Your Starter in the Fridge
Once your starter is active and you are not baking, put it in the fridge and leave it there until you are ready to bake.
When you are ready to use it, take it out, let it come to room temperature and feed it as needed for your recipe.